")
ヒール かかとゴム交換
かかとゴム交換の事例です。
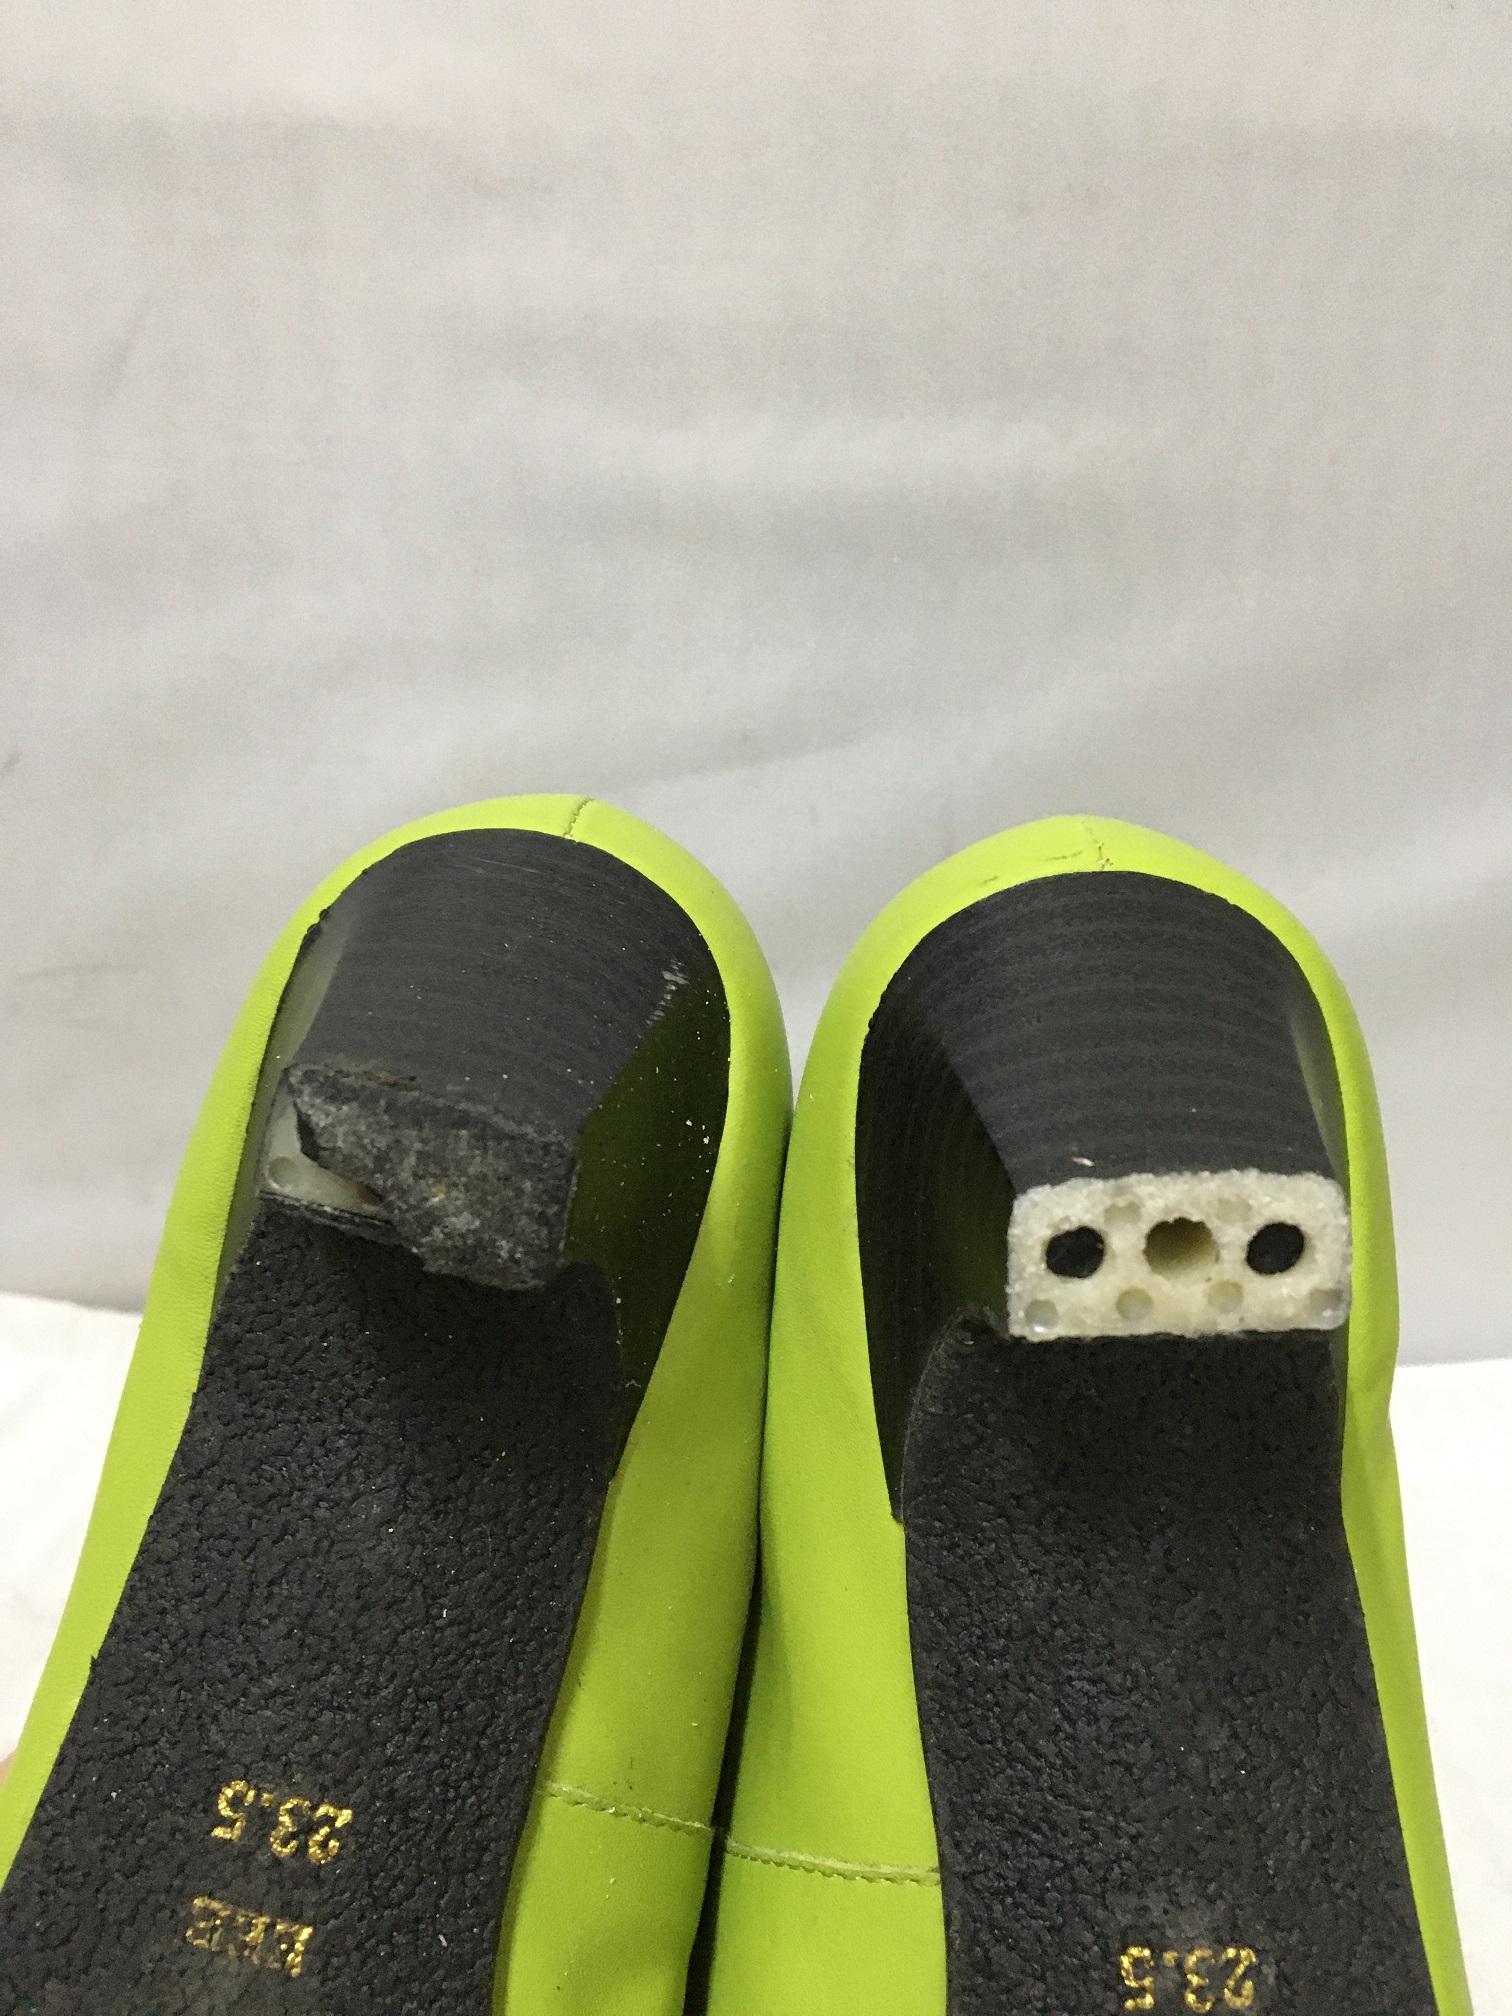
お客様からプラスチックが付いているとのことでしたが、かかと底にプラスチック素材が使われることはありません。
ゴムが劣化による硬化して、プラスチックのように固くなり割れたりします。
新しいゴム板を元のサイズより少し大きめにカットします。
両方に接着剤を塗り、少し乾かしたあと貼り合わせます。
取れないようにエアーネイラー(釘打ち機)で固定します。
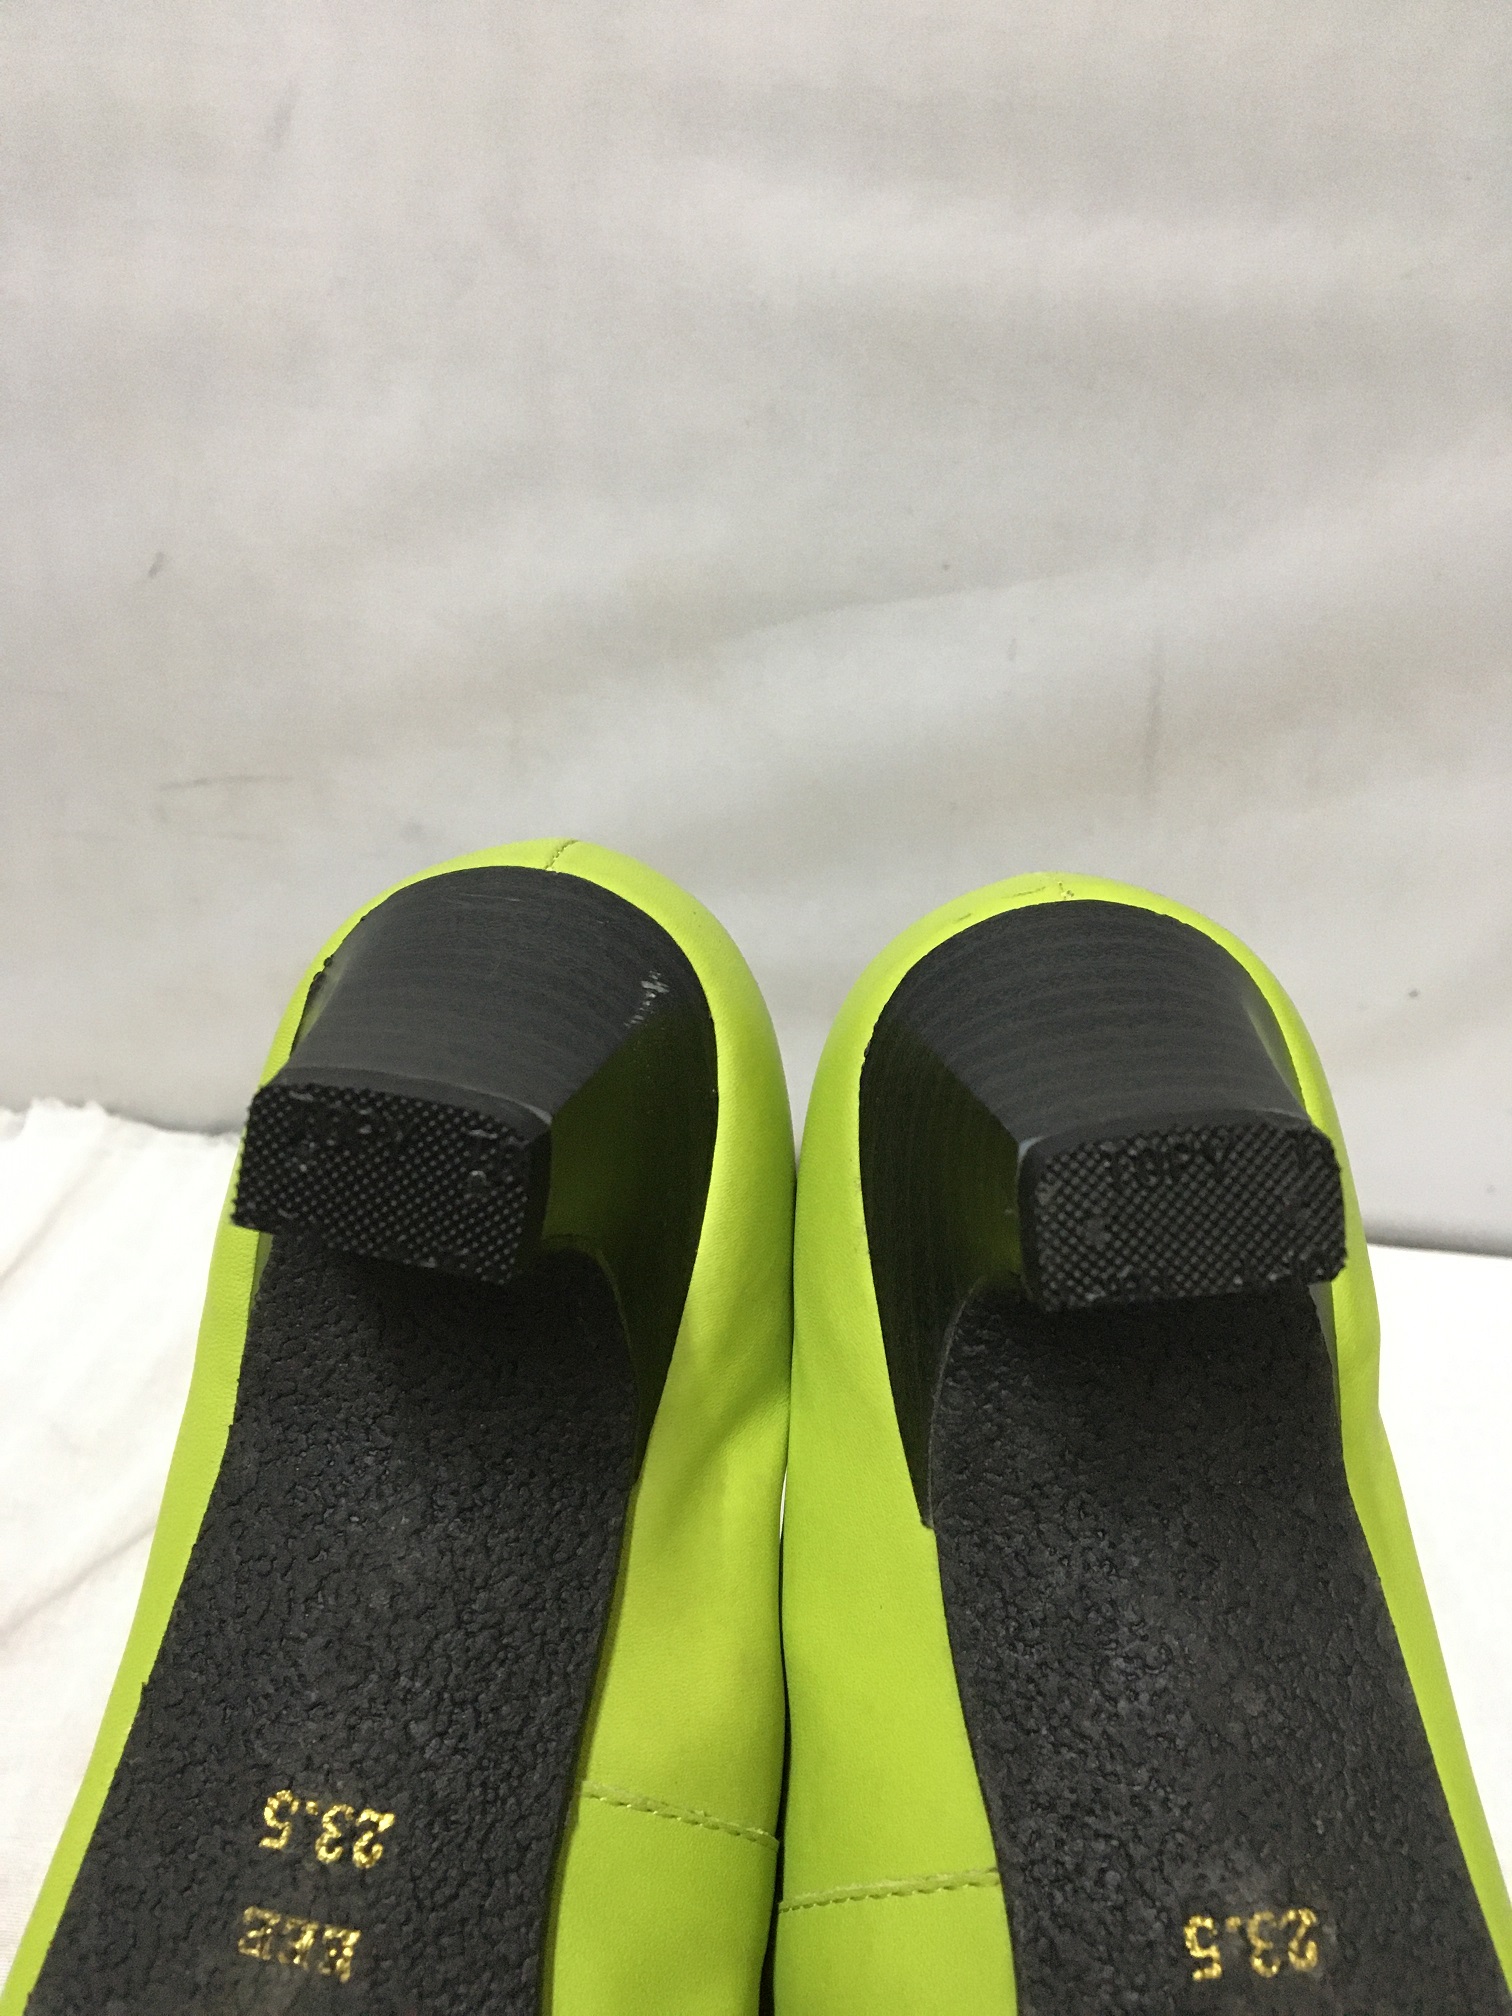
ヒールからはみ出てい部分をグラインダーで削って仕上げていきます。
削り終えたら、ポリッシュで削った部分に塗り完成です。
ヒール部分手前まで削れてしまったり、今回のように劣化して割れてしまったときが交換時期です。
今ある靴のかかとを一度見てみてはいかがでしょうか?すり減っていませんか?
すり減っていたらぜひ修理お待ちしております。
This is an example of heel rubber replacement.
Customers have told us that there is plastic attached, but no plastic material is used on the bottom of the heel.
Rubber deteriorates and hardens, becoming hard like plastic and cracking.
Cut the new rubber plate a little larger than the original size.
Apply adhesive to both sides, let it dry a little, and then stick them together.
Secure it with an air nailer so it doesn’t come off.
Use a grinder to finish off the part that protrudes from the heel.
Once you have finished shaving, apply polish to the shaving area.
It’s time to replace the heel when it wears down to the front, or when it deteriorates and cracks like it did this time.
Why not take a look at the heels of your current shoes? Is it worn out?
If it is worn out, we look forward to repairing it.

コメント