")
キストの交換
今回もキストの紹介です。
前回はゴムでしたので金具を取り付けました。
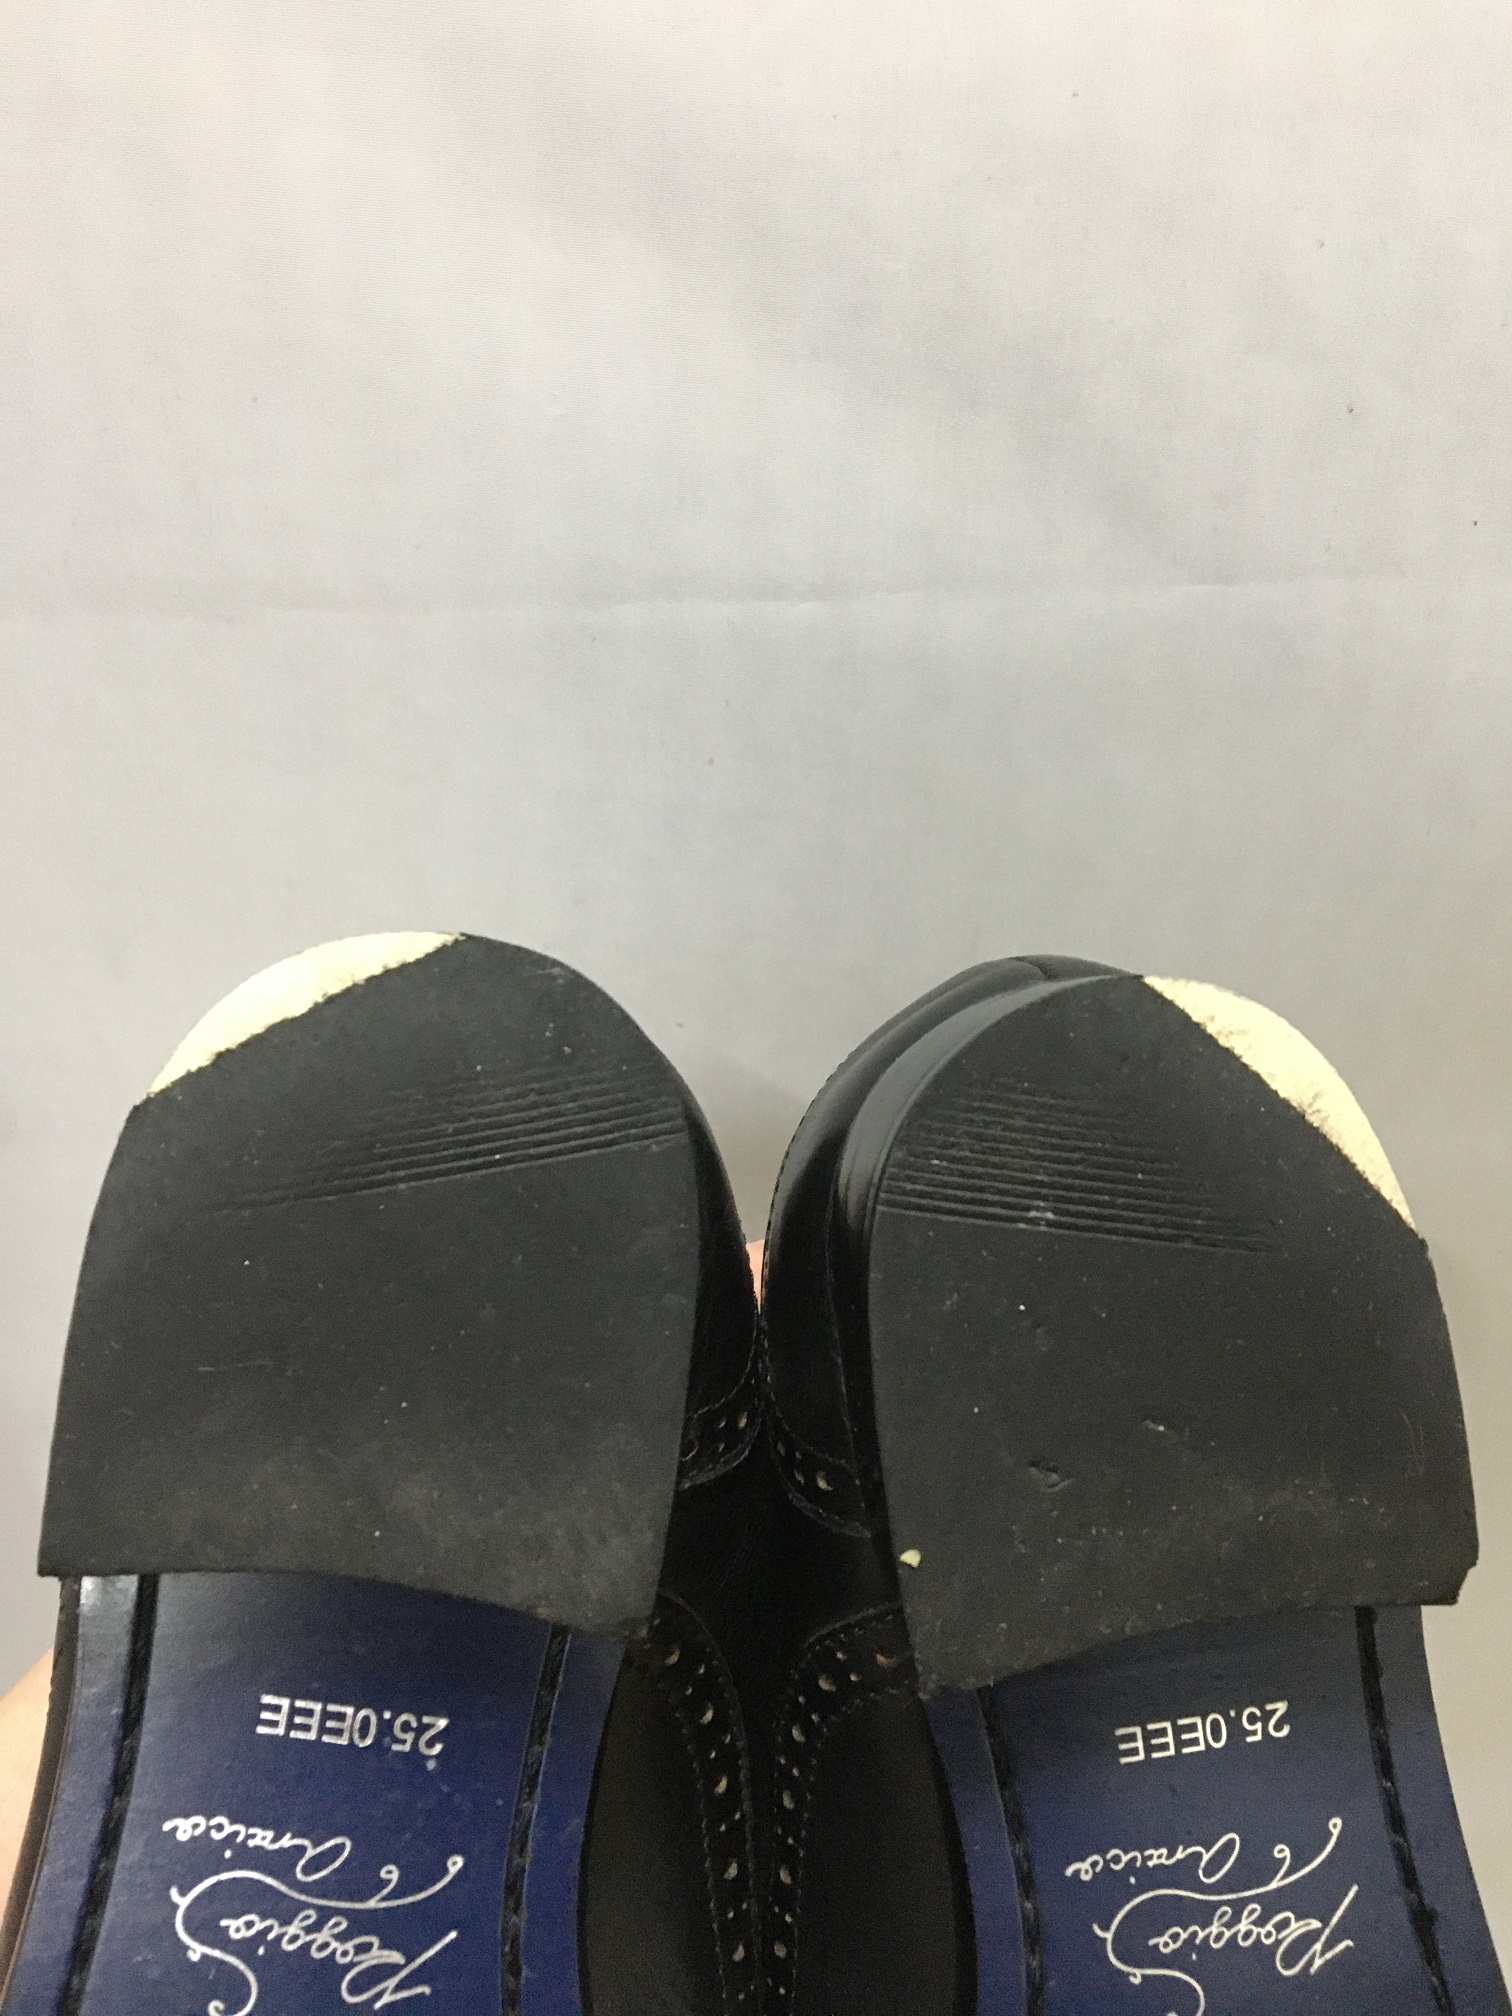
まずゴムを取ってヒールの擦り減っている箇所を補強します。
補強後、新しくゴムを付けます。
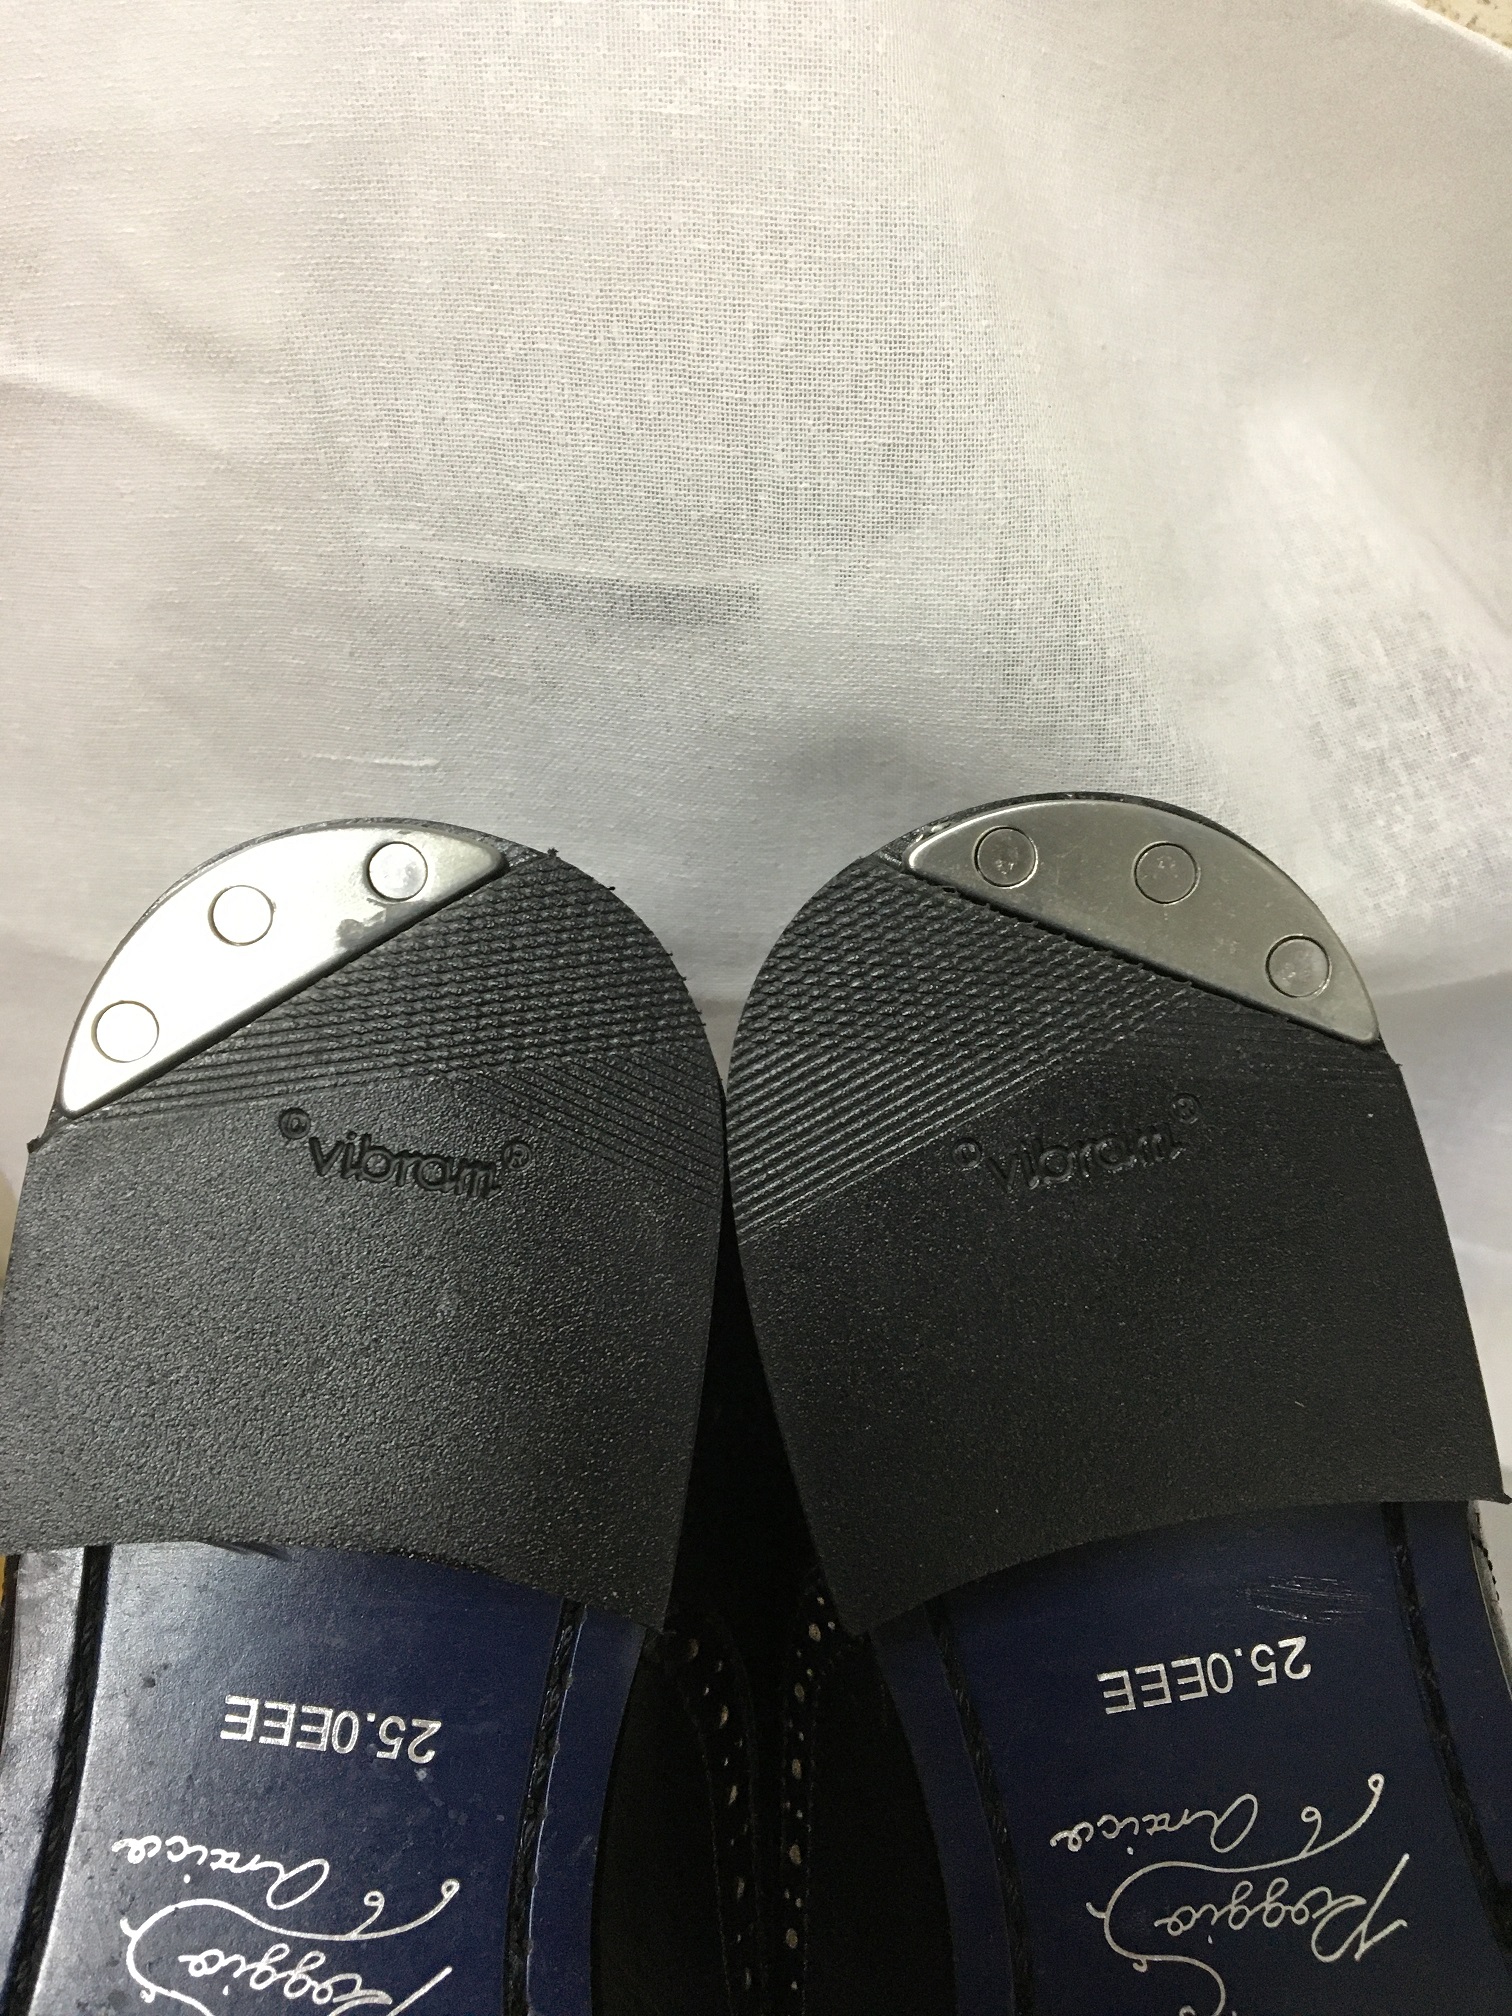
そして、キストを取り付ける高さ分を水平に削っていきます。
キストを取り付けたとき、フラットになったら釘で固定します。
ゴムに比べ、金具の場合は歩いた際に音が鳴るため、気になる方はゴムでの対応をおすすめします!
This time, I would like to introduce Kist.
Last time I used rubber, so I attached metal fittings.
First, remove the rubber and reinforce the worn parts of the heel.
After reinforcement, add new rubber.
Then, cut horizontally to the height where the quist will be attached.
When the quist is installed, once it is flat, secure it with nails.
Compared to rubber, metal fittings make more noise when you walk on them, so if you are concerned about this, we recommend using rubber!

コメント