")
キストの交換
今回はトップリフトのゴム部分の摩耗防止として使用されるキストです。
ゴムと金具と種類はありますが、元がゴムを使用されていたのでゴムで交換します。
金具の方が摩耗力ありますが音が鳴ります。
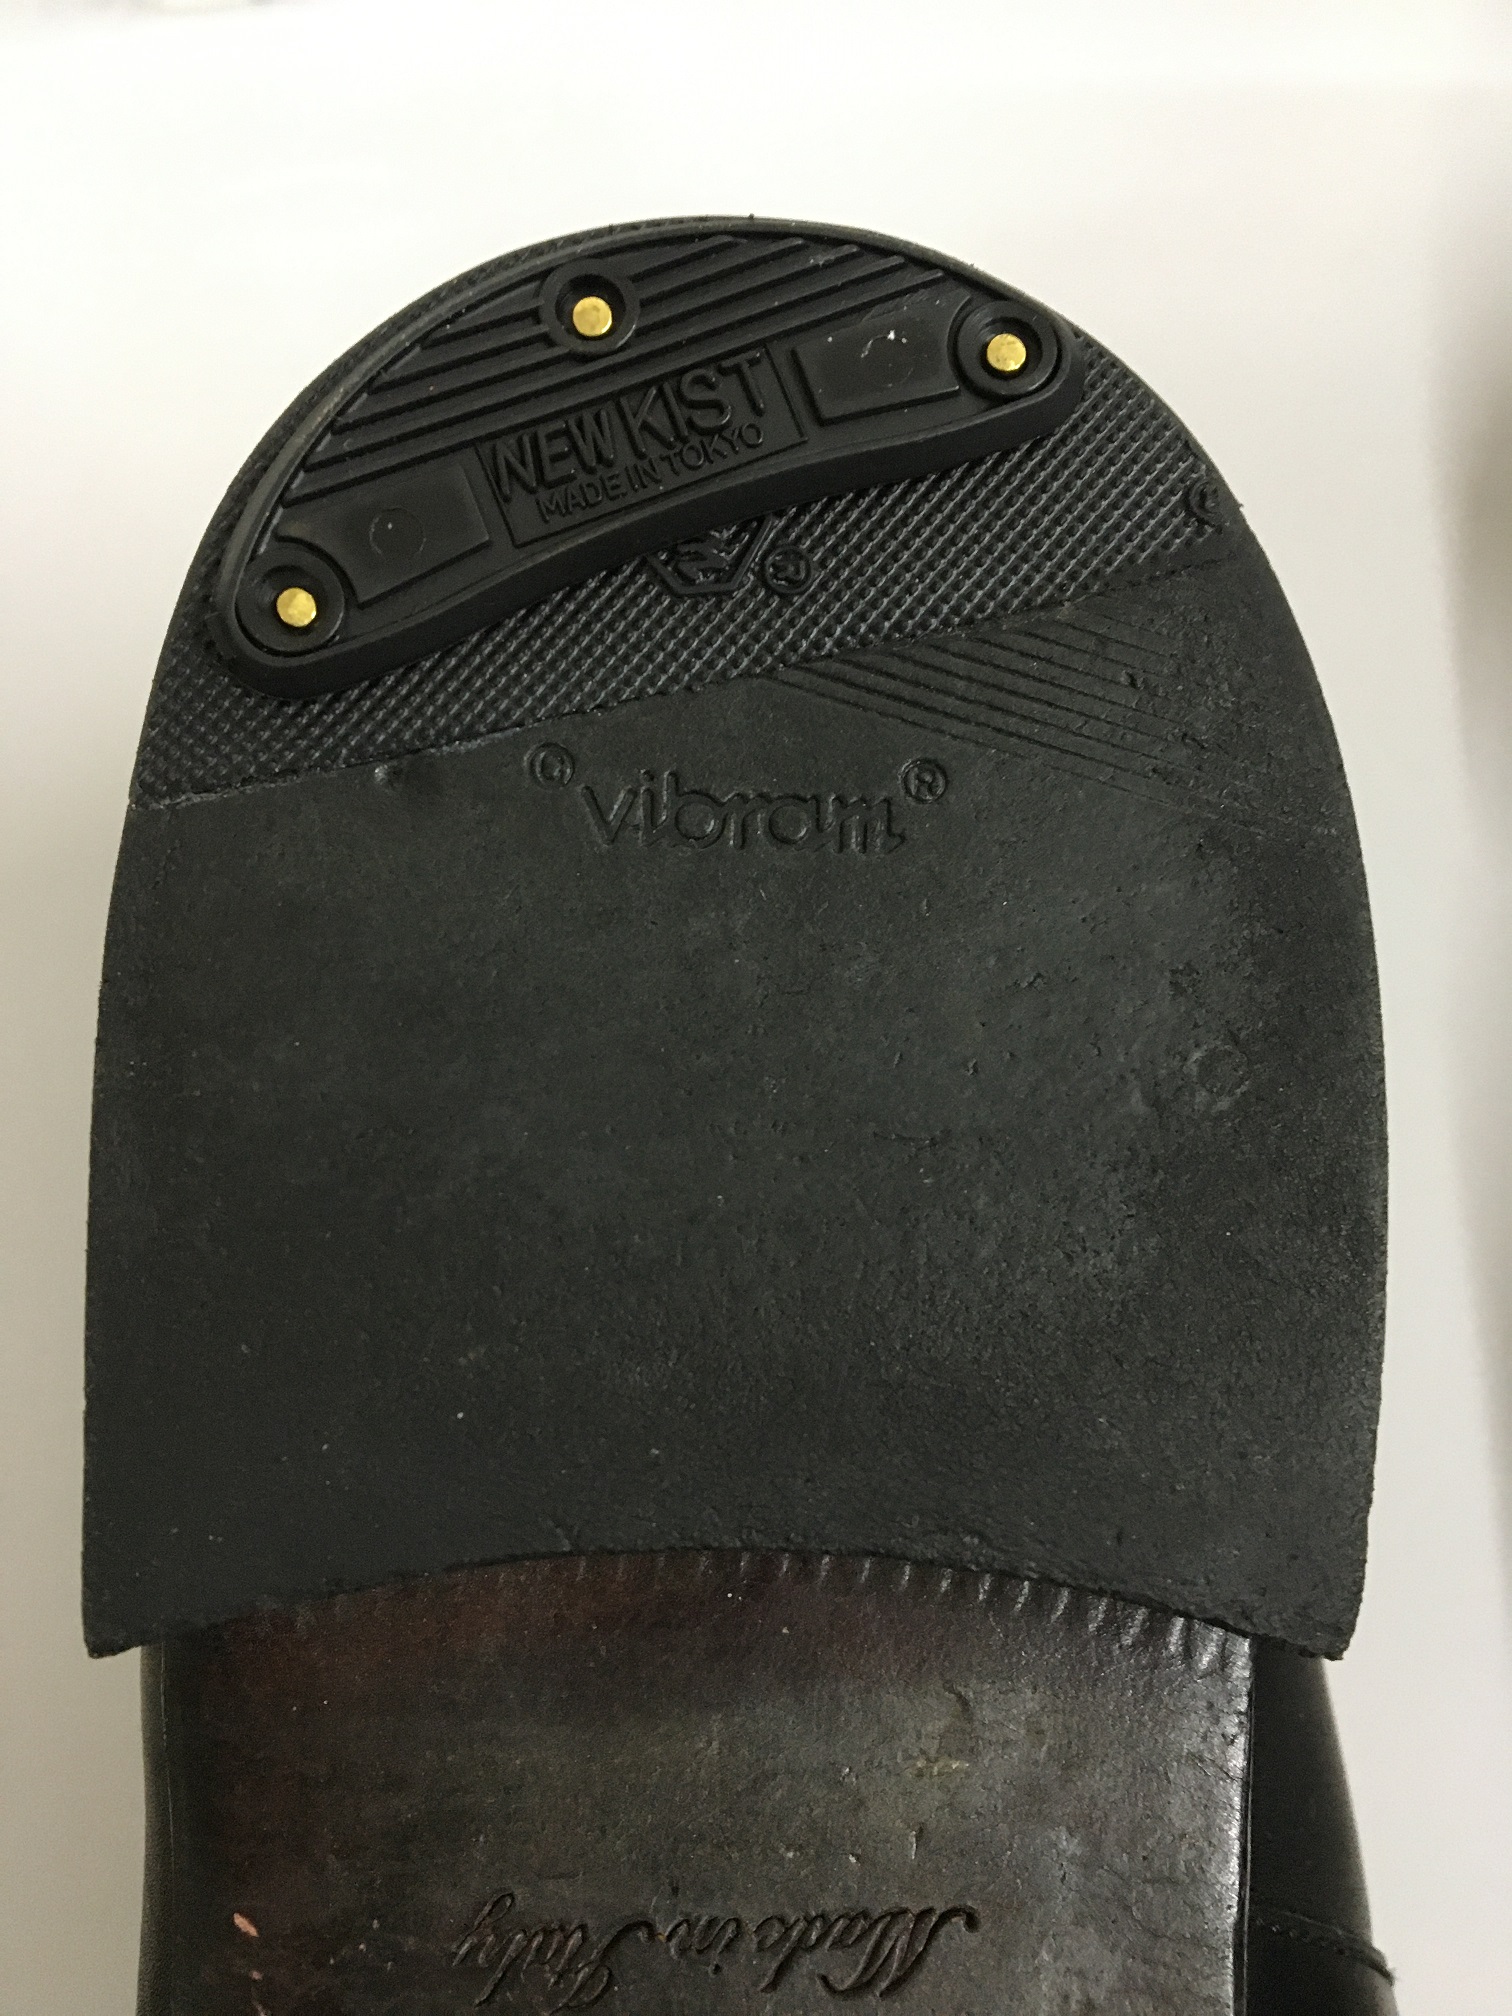
まず古いキストを取り、すり減っている箇所を補強します。
補強が終わったあとに新しいキストを取り付けます。
シールをはがしてゴムに貼り付けて、釘で固定します。
なかなか釘を真っ直ぐに打つのが難しいですが、3ヶ所打ち終えたら終了です。
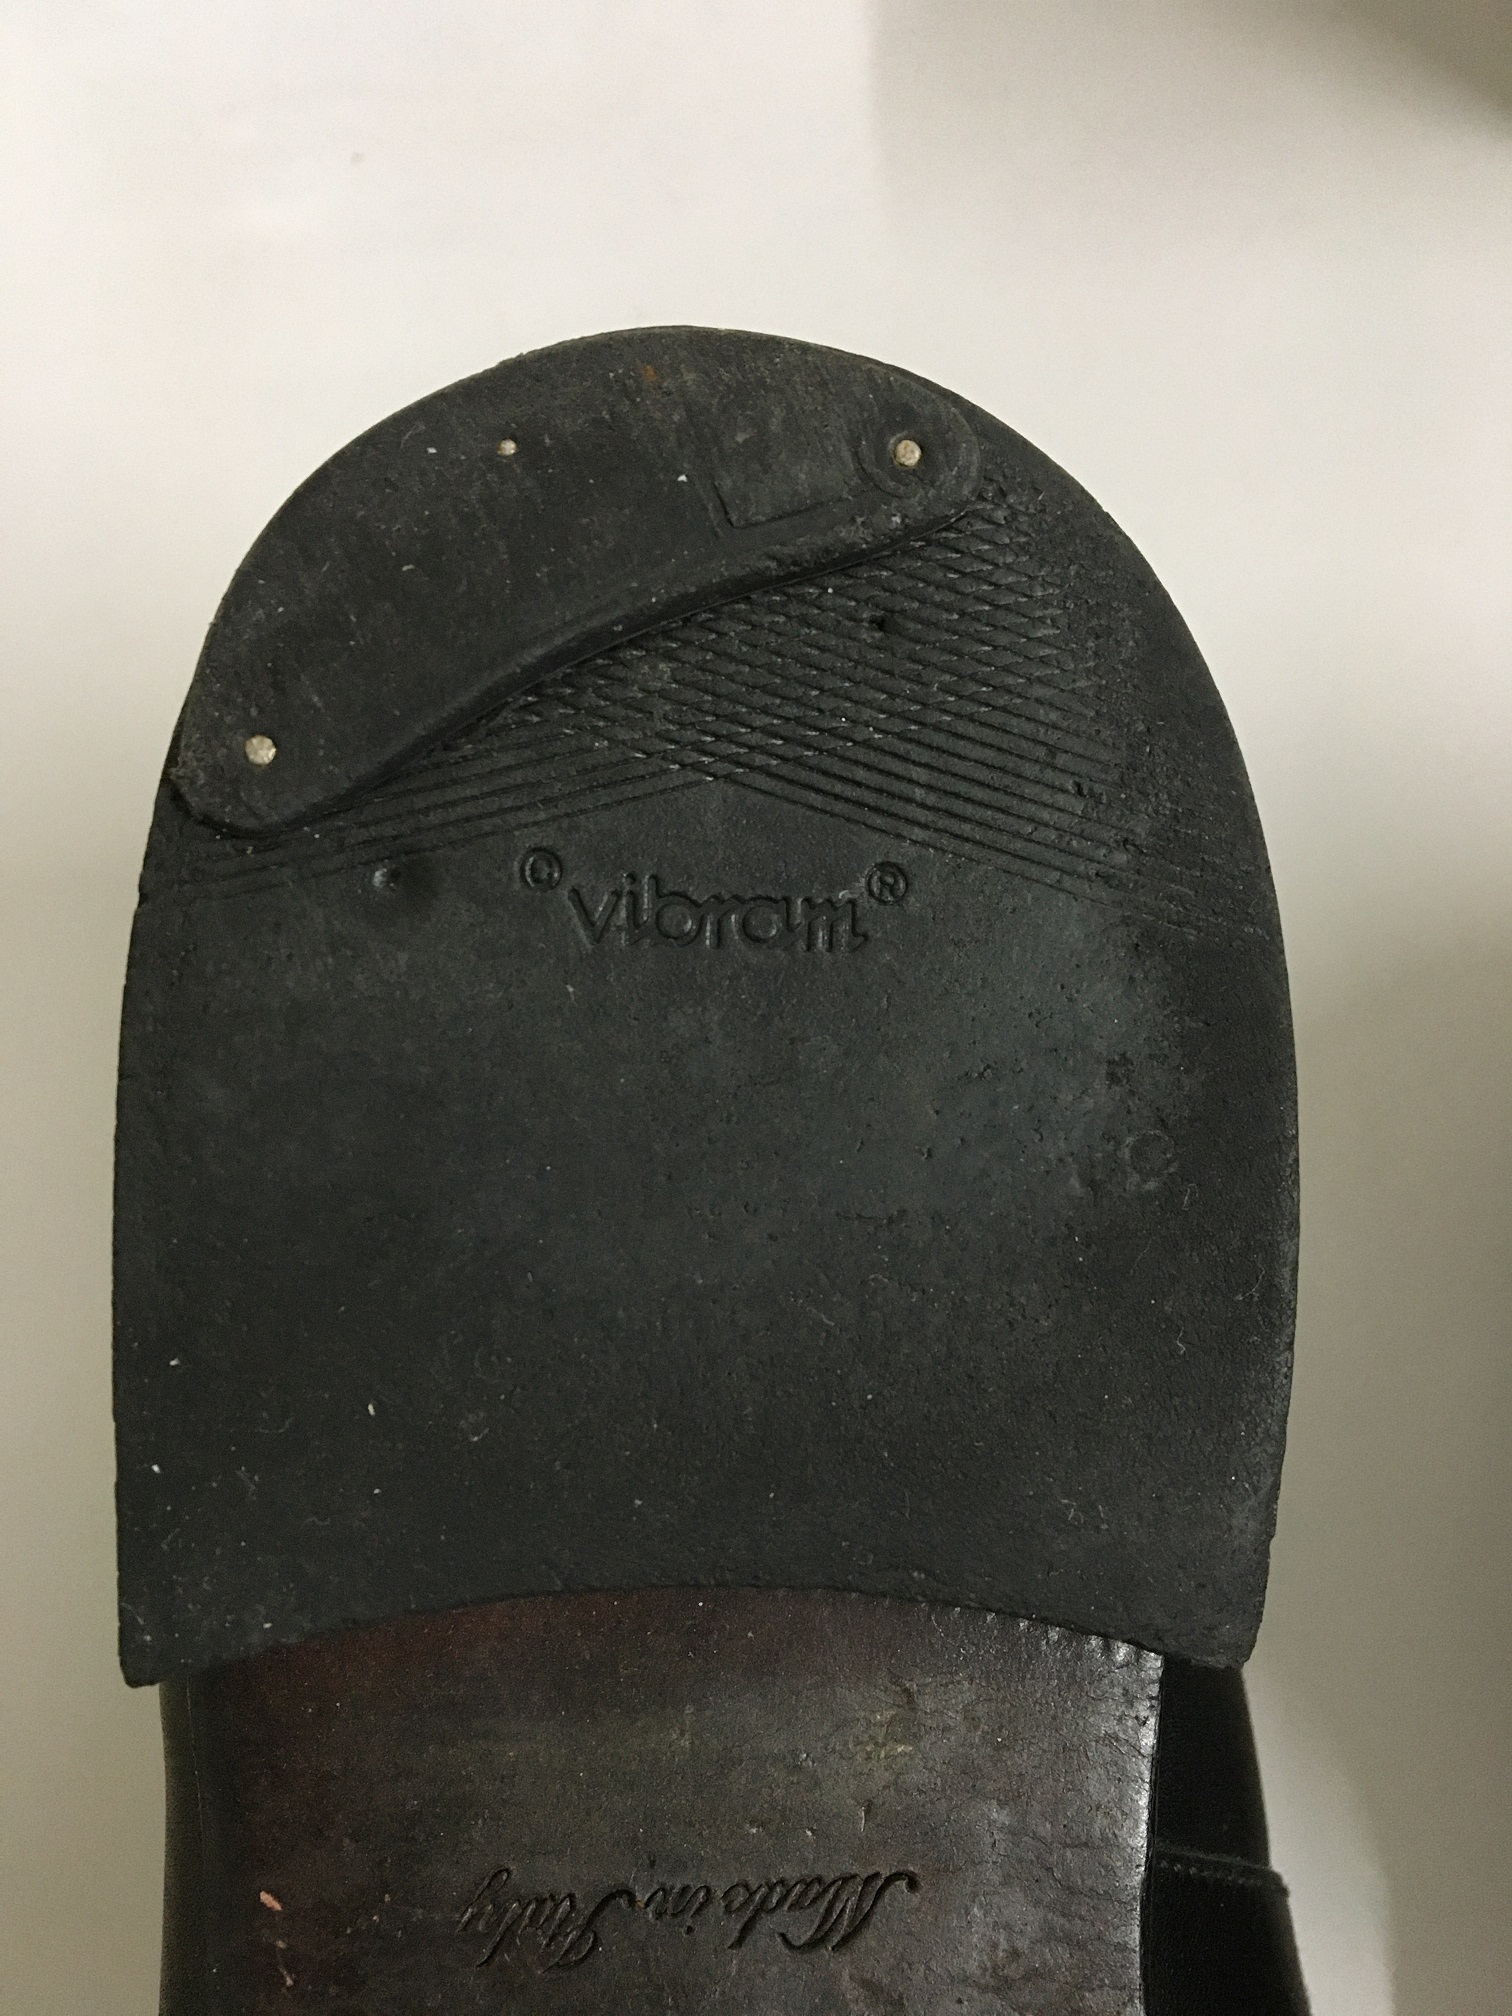
This time, we are replacing the rubber top lift with a new one to prevent wear and tear.
There are two types of top lifts: rubber and metal. The original was made of rubber, so we will replace it with another rubber one.
Metal top lifts are more durable, but they can be noisy.
First, remove the old top lift and reinforce the worn areas.
Once the reinforcement is complete, install the new top lift.
Peel off the sticker and stick it to the rubber, then secure it with nails.
It can be difficult to hammer the nails in straight, but once you have finished hammering them into the three holes, you are done.

コメント